Transform Your Space with DIY Acrylic Decor
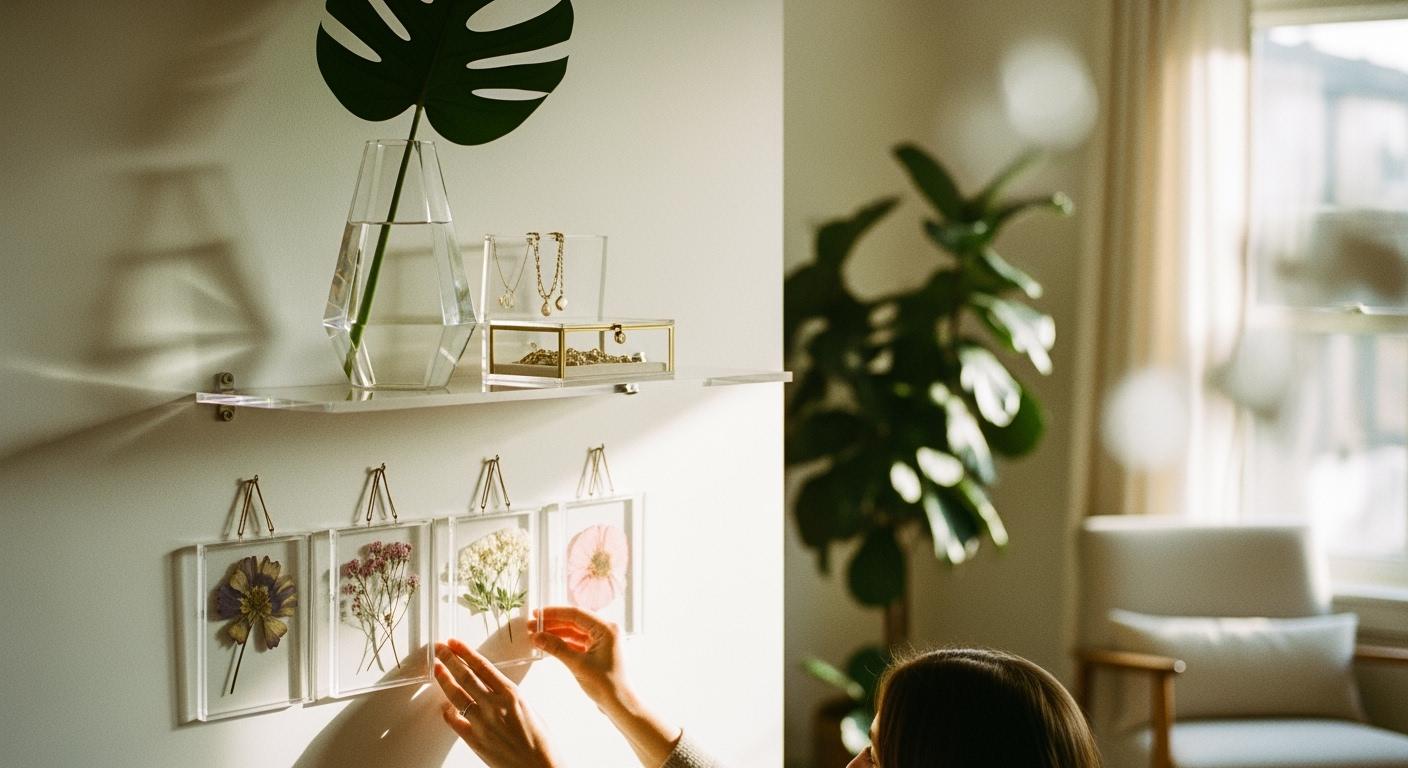
Ready to transform your space? You can create stunning modern decor with versatile acrylic photo blocks. This acrylic photo block home decor adds personality and a modern style to your home. These clear blocks turn your photos into beautiful art.
Pro Tip 💡: With 41% of homeowners citing cost as a major hurdle, DIY is your secret weapon to get the clean, minimal design you love!
This approach offers affordable personalization. Create custom photo blocks for your desk or make photo block unique gift ideas. These decorating photo blocks also work as great personalized gifts. You can achieve a high-end design yourself. Let’s transform your space with this amazing decor. These simple photo blocks will elevate your home and your space.
Your DIY Acrylic Decor Toolkit
Before you start creating your beautiful acrylic photo blocks, you need to gather your tools. Having the right supplies makes the process smooth and fun. It also ensures you get a high-quality, professional-looking result for your decor. Let's look at what you'll need to make amazing photo blocks.
Essential Craft Supplies
You don't need a full workshop to make stunning photo blocks. A few key items will guarantee a great finish. High-quality tools are important for the durability of your finished photo blocks.
Acrylic Photo Blocks: Start with blank acrylic photo blocks in your desired size.
Clear Adhesive: A quality adhesive designed for photos and acrylic is crucial.
Sanding Block: This helps smooth any rough edges for a perfect feel.
Clamps: Spring clamps hold your photo securely while the adhesive dries.
Safety Goggles: Always protect your eyes when crafting!
Pro Tip 💡: A clean, soft brush is great for dusting off your acrylic surface before you apply a photo. This simple step prevents tiny particles from getting trapped under your image and helps create flawless photo blocks.
Optional Decorative Materials
Want to add extra personality to your photo blocks? These optional materials let you customize your acrylic decor even more. The right material choice affects the long-term durability and quality of your designs.
Paint Pens: You can add names, dates, or designs directly onto your photo blocks. Posca paint markers are a fantastic choice. They are very opaque and flow easily on acrylic without smudging, giving you a quality finish.
Vinyl: You can use vinyl for crisp, clean lettering or shapes. For simple indoor projects, calendered vinyl works well. For projects needing more durability, consider cast vinyl or even Heat Transfer Vinyl (HTV) for solid-color acrylic photo blocks. Using quality vinyl ensures the longevity and durability of your custom photo blocks.
Crafting Stunning Acrylic Photo Blocks
This is where the magic happens! You are about to turn a simple photo and a clear block into a stunning piece of decor. Follow these steps to create your own professional-looking photo blocks. The process is fun and gives you amazing results.
Step 1: Select and Print
Your final piece is only as good as the photo you start with. Choosing the right image and printing it correctly is the key to success.
First, select a high-resolution photo. A sharp, clear image will ensure high-quality image reproduction. Photos with bright, saturated colors or deep, dark tones work best. Very light colors can sometimes look washed out against the transparent acrylic.
Next, you need to print your photo. You have a few great options for paper that will make your colors pop.
Metallic Paper: This choice gives your image incredible depth and a vibrant, almost three-dimensional look.
High Glossy Paper: You can use this paper for brilliant whites and a wide color range. It provides a sleek, modern finish.
Clear Sticker Paper: For a unique "floating" effect, you can print directly onto clear sticker paper. Just make sure to print on the shiny side for the best quality.
Pro Tip 💡: Before you print, resize your image to the exact dimensions of your acrylic block (e.g., 4x6 inches). This saves you from tricky trimming later and guarantees a perfect fit for your photo blocks.
Step 2: Mount Your Photo
Mounting the photo is the most critical step for achieving a flawless, bubble-free finish. Take your time here. A little patience will deliver a high-quality result. This step is essential for creating beautiful photo blocks.
Prepare Your Workspace: Make sure your acrylic block and photo are completely clean and free of dust or lint. A quick wipe with a soft, clean cloth does the trick.
Apply the Adhesive: It is often easier to apply the clear adhesive sheet to the back of your photo first. Peel back just one inch of the adhesive's backing paper.
Roll It On: Carefully align the exposed adhesive with the edge of your photo. Slowly press it down. Use a squeegee or a credit card to smooth the adhesive as you slowly pull off the rest of the backing. This technique pushes air out and prevents bubbles.
Attach to the Block: Now, peel the second backing paper off the adhesive, again starting with just one edge.
Final Placement: Align your photo with the acrylic block. Slowly and carefully press the photo onto the acrylic. Continue using your squeegee to smooth it down from one end to the other, pushing out any potential air bubbles as you go.
Cure and Clamp: Once the photo is mounted, burnish the surface one last time. If your adhesive requires it, let it cure. Some silicone-based adhesives need up to 48 hours to fully set. You can use spring clamps with soft padding to hold the photo securely to the block during this time.
Oops, a Bubble? If a stubborn bubble remains, don't worry! You can carefully prick it with a tiny pin or needle. Then, use your squeegee to press the trapped air out through the tiny hole.
Step 3: Finish and Display
You did it! You now have your very own custom acrylic photo blocks. The final step is finding the perfect spot to show them off. The frameless design of these blocks makes your photo the star and adds a modern touch to any room.
These freestanding pieces of fine art photography offer endless personalization for your home. Here are a few ideas to get you started:
On Your Desk: A single block with a favorite memory can brighten your workday.
On the Mantel: Arrange several photo blocks of varying sizes to tell a story. You can create a beautiful collage of family moments or travel adventures.
On a Bookshelf: Mix your new art in with books and other objects. The clear acrylic adds texture and depth to your shelf decor.
The best part about these blocks is their versatility. You can easily decorate with acrylic photo blocks by moving them around to refresh your space. Place them against a light-colored wall to make the image stand out. This simple project offers so much personalization and transforms your favorite photos into high-quality decor that truly elevates your home. The quality of these custom blocks will impress everyone.
More Ideas for Custom Decor
Your creativity doesn't have to stop with photo blocks! Acrylic is a wonderfully versatile material. You can use it to craft other custom pieces that bring modern style and function to your home. Let's explore a few more projects that will elevate your decor.
Minimalist Bookends
Tired of messy bookshelves? You can create your own sleek, minimalist bookends that are both strong and stylish. These nearly invisible supports make your books look like they are floating, adding a clean touch to any office or living room shelf.
For bookends that won't buckle, you should use high-quality cast acrylic that is at least 4mm thick. This material is strong, durable, and won't turn yellow over time. Customers who use this thickness describe their bookends as "Simple and sturdy." Here’s how you can make your own:
Get a sheet of thick acrylic.
Carefully cut the sheet into L-shaped pieces.
Sand the cut edges until they are smooth to the touch.
Place your finished bookends on a shelf to organize your favorite reads!
Floating Display Risers
Do you have collectibles, plants, or other treasures you want to show off? Create floating display risers to give them the attention they deserve. These clear stands add height and interest to your displays, making your items pop. You can turn a flat surface into a dynamic arrangement of three-dimensional pieces.
The thickness of the acrylic you choose is very important. It determines how much weight your riser can hold. A 1/4" thick riser is great for most items, but you should check the load capacity to prevent bending.
Choosing the Right Thickness ⚖️ Use this simple guide to select the right acrylic for your project:
Load Type
Weight Range (pounds)
Recommended Acrylic Thickness
Light loads
5-10
¼” to ⅜”
Medium loads
10-20
½” to ¾”
| Heavy loads | 20-30 | ¾” to 1” |
Mix-and-Match Wall Art
You can decorate with acrylic photo blocks to create stunning wall art. Instead of one large picture, why not create a gallery wall with multiple smaller photo blocks? Using several 4x4 inch photo blocks gives you endless possibilities for personalization. This is a fantastic way to tell a bigger story.
Here are a few layout ideas to get you started:
The Grid: Arrange your photo blocks in a perfect square or rectangle. This creates a clean, modern look that is very purposeful.
The Asymmetrical: Get creative with a free-flowing layout. Start with a central block and arrange the other photo blocks around it for a dynamic, energetic feel.
Aligned on a Shelf: Place your blocks on a picture ledge. You can overlap them and mix in different sizes to add depth and visual interest.
The best part is that you can easily swap out the photo blocks to update your art for different seasons or moods. This keeps your decor fresh and exciting.
Paperweights with Personality
Transform your desk with a paperweight that shows off your unique personality. You can turn a simple acrylic block into a beautiful and functional piece of photo block office decor. This is a great way to add a touch of personalization to your workspace or create a thoughtful gift.
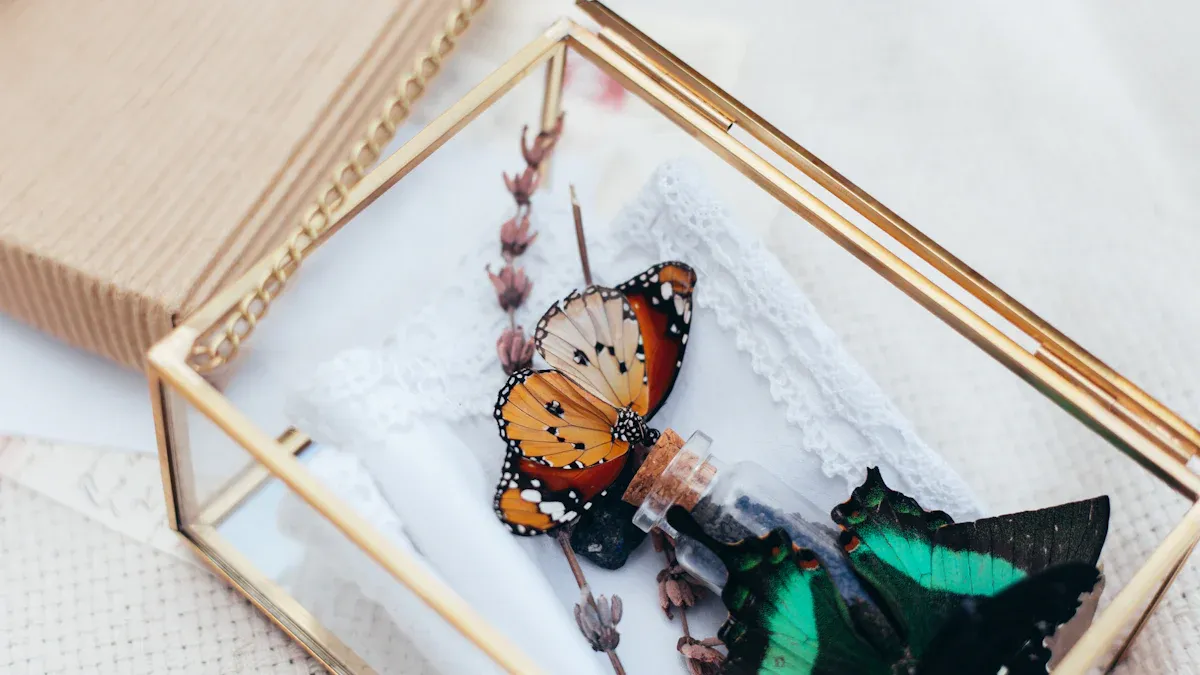
You can add a monogram, a favorite quote, or a simple design using vinyl letters or paint pens. For an even more creative touch, you can embed small objects inside your photo blocks using clear resin. This creates a stunning, one-of-a-kind piece. Consider embedding items like:
Colorful glitter or party sparkles
Coins from a special trip
Corporate logos for a branded office gift
These custom photo blocks make your office feel more like your own. This small piece of decor can make a big impact on your daily routine.
Style Your Decor to Transform Your Space
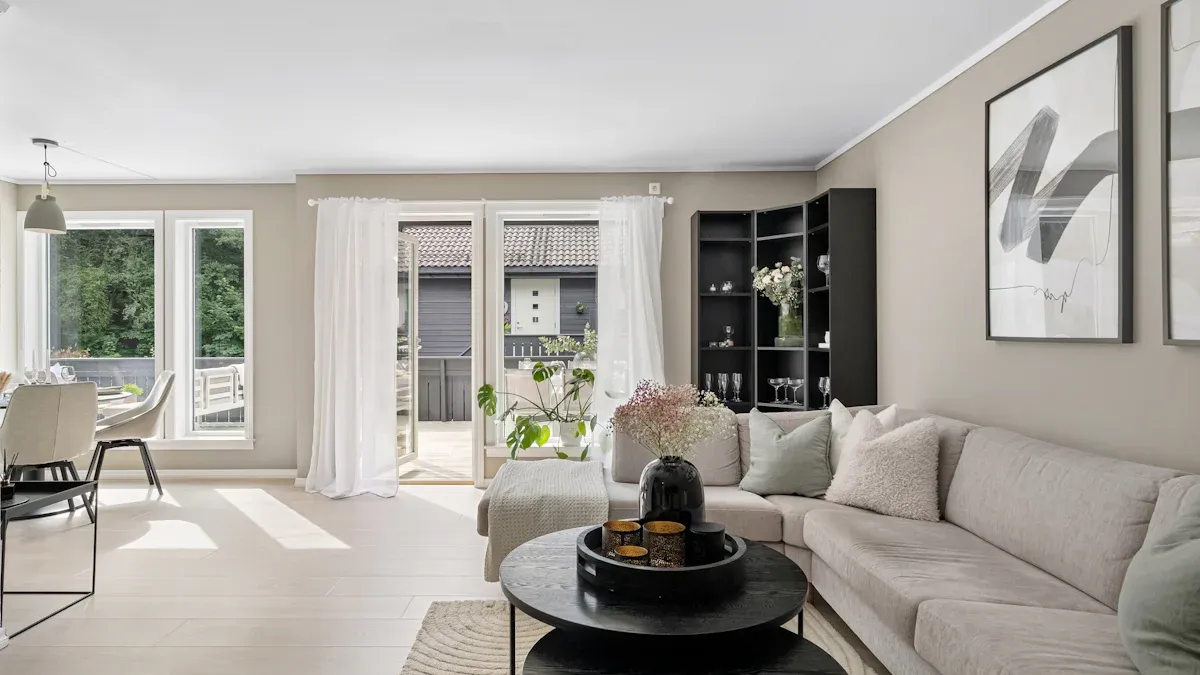
You've created your beautiful photo blocks. Now it's time for the fun part: styling them to transform your space. The right placement and texture combinations will make your new decor truly shine. Let's explore how to get a professional design look.
Placement for Maximum Impact
Where you place your photo blocks can change the feel of an entire room. The clear acrylic material is perfect for making your space feel bigger and brighter. Its transparency creates an illusion of openness.
Designer Tip ✨: Place your photo blocks near a window or lamp. The acrylic will catch and reflect light, adding a beautiful, ambient glow to your space and enhancing the beauty of your photos.
You can create a stunning focal point with your photo blocks. Here are a few ideas:
On a Mantel: Arrange several photo blocks with candles to create a layered look. The beauty of this setup is its versatility.
On a Bookshelf: Mix your photo blocks in with books and plants. This adds depth and personality. You can style your shelf to tell a story with your custom photo blocks.
In an Entryway: A single, striking photo block on a console table creates a warm welcome for guests visiting your home.
Mixing Acrylic with Other Textures
The sleek beauty of your acrylic photo blocks pairs wonderfully with other materials. Mixing textures adds visual interest and creates a balanced, sophisticated style. This is how you can elevate your decor from simple to stunning.
Don't be afraid to combine your modern photo blocks with different elements. The contrast is what creates beauty. Place your photo blocks on a rustic wooden shelf. The smooth, clear surface of the blocks looks amazing against the natural grain of the wood. You can also place your photo blocks on a side table next to a soft velvet chair. This mix of hard and soft textures makes your decor pop. Combining these materials is a simple way to transform your space and showcase the unique beauty of your custom blocks.
You have learned to make amazing acrylic photo blocks. You can create wall art and other custom decor photo blocks. These DIY acrylic projects add personality to your home. The photo blocks create modern decor for your space. Your custom photo blocks and other photo blocks will look great. These photo blocks are versatile blocks.
Now it's your turn to transform your space! Grab your photo blocks and start creating. Your space will thank you for these beautiful photo blocks and acrylic photo blocks.
FAQ
How do I clean my finished photo blocks?
You can easily maintain the quality of your new decor. Gently wipe your photo blocks with a soft, lint-free microfiber cloth. For tougher smudges, you can lightly dampen the cloth with water. Avoid harsh chemicals to protect the surface of the photo blocks and maintain their quality.
What if I mount my photo crookedly on the photo blocks?
Don't panic! The best solution depends on your adhesive. Some adhesives allow you to reposition the photo within the first few minutes. If it's already set, you can embrace the unique look. Your handmade photo blocks have character, and a slight imperfection shows their quality craftsmanship.
Can I use old or faded photos for my photo blocks?
You can use any photo you love! However, high-resolution images produce the best quality results. Old photos might look soft or grainy. You can scan and digitally enhance them before printing. This step ensures your photo blocks look sharp and vibrant. These are high-quality photo blocks.
Are these photo blocks suitable for an office?
Absolutely! These custom photo blocks are perfect for your office desk. They add a personal touch without creating clutter. A single block with a family photo or a motivational quote can boost your mood. The high quality of these photo blocks makes them look professional.
How durable are these DIY photo blocks?
Your DIY photo blocks are quite durable with the right materials. Using high-quality acrylic and adhesive ensures they last for years. They are shatter-resistant and won't yellow over time. The quality of your photo blocks means they will be a long-lasting part of your decor.
See Also
Elevate Your Home: 10 Chic Acrylic Tray Decor Ideas
Modern Home Styling: Expert Tips for Clear Acrylic Trays
Acrylic Trays: The Essential Modern Home Decor Choice for 2025