Easy Tips for Your Acrylic Blocks

An acrylic block is a clear handle for your clear stamps. This tool is key for perfect stamping. It helps you get a crisp, clean stamped image every time. Mastering your acrylic stamping is simple. These tips will improve your stamping right away. The stamping market is growing fast. The Rubber Stamps Market was valued at US$ 1.883 billion in 2024. It is expected to grow. The Embossing and Foil Stamping Equipment Market is also growing. It is projected to reach USD 7.51 billion by 2030. This shows many people love using stamps. Your acrylic blocks help you join this fun activity. Good acrylic stamping starts with good acrylic tools. You can make great projects with your acrylic stamps.
Choosing Your Acrylic Block
You can improve your acrylic stamping by choosing the right tool. The perfect acrylic block makes your stamping projects easier and more fun. Consider size, grid lines, and comfort when you select your next acrylic tool.
Match Block Size to Stamp Size
You should match your acrylic block to your stamp's size. A block that is too large is hard to handle. A block that is too small offers poor support for your stamps. The ideal acrylic block is slightly larger than the stamp you are using. This gives you a clear view for perfect placement. It also provides a stable base for your stamping. Many standard acrylic sizes are available.
Common desktop acrylic sizes include:
3½×5"
4×4"
4×6"
5×7"
Thicker 1" acrylic blocks also come in many sizes, from 2" x 8" to 4" x 12". Having a few different sizes helps you prepare for any project with various stamps.
Use Grid Lines for Precision
Grid lines on acrylic blocks are a game-changer for precision stamping. These lines help you visualize the placement of your stamps. You can align your stamps perfectly on the paper. This feature is essential for creating straight sentiments or repeating patterns. Some acrylic blocks have etched grid lines. These permanent lines are great for perfectionists. Other acrylic blocks use printed lines. Both types help you achieve accurate acrylic stamping results.
Pro Tip: Use the grid to line up your clear stamps with the edge of your paper. This simple trick ensures your stamping is always straight.
Find a Comfortable Grip
A comfortable grip is very important for good stamping. An ergonomic design allows for controlled and consistent impressions. Look for acrylic blocks with features that reduce hand strain.
Things to look for in an acrylic block:
Curved grips that fit your hand
Rounded edges instead of sharp ones
A balanced weight for stability
Some brands offer "Comfort Blocks." These acrylic tools are lighter and have soft curves. They have no sharp edges. This design makes long acrylic stamping sessions more comfortable. You can enjoy your stamping hobby without slips or strains.
Core Stamping Techniques
You can master your acrylic stamping with a few core techniques. These simple steps help you get a perfect image every time. Good stamping techniques are the foundation of beautiful card making and scrapbooking. These techniques will build your confidence.
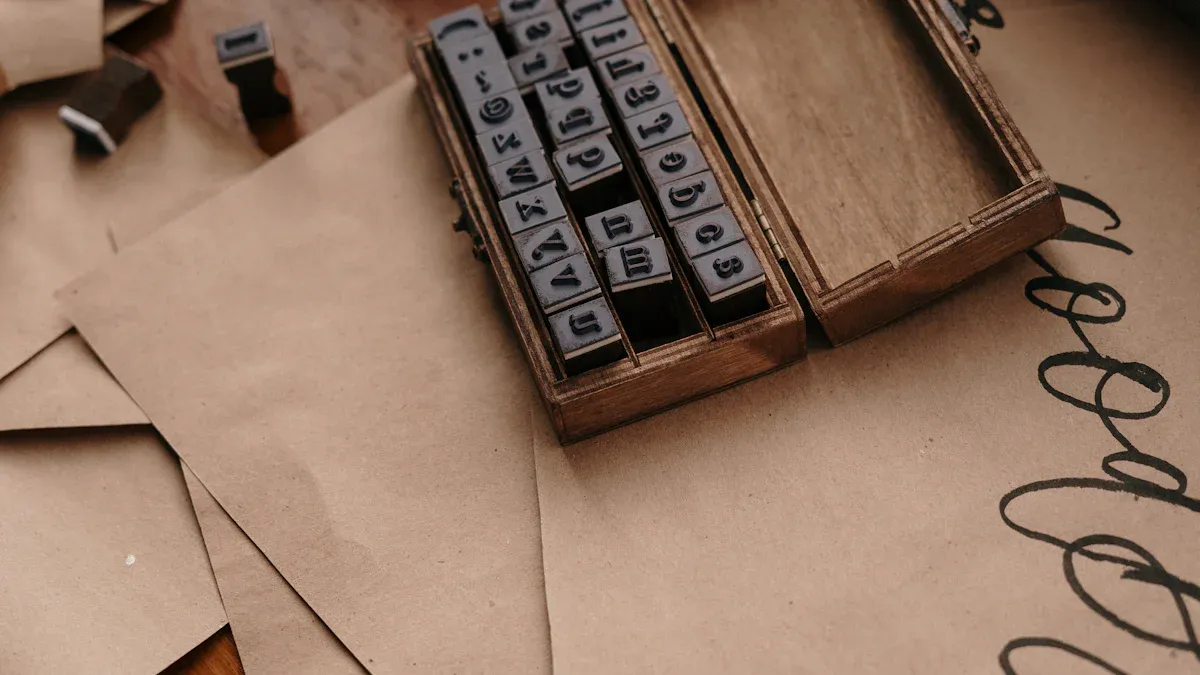
Mounting Your Stamp
Properly mounting your stamps is the first step to a great impression. Your clear stamps will cling naturally to a clean acrylic block. You should place the acrylic block on your work surface. Then, you can position the stamp on the block. The flat side of the stamp sticks to the acrylic surface. The raised design should face outward. You can look through the acrylic block to check the placement. This is a key benefit of acrylic stamping. Make sure the stamp is smooth and flat against the acrylic. Trapped air bubbles are usually not a problem.
Inking for Even Coverage
Inking your stamps correctly ensures a solid, even image. The method you use depends on the size of your stamps and ink pad. These inking techniques will improve your stamping results.
Small Stamp, Big Pad: You can turn the stamp and acrylic block over. Gently tap the stamp onto the ink pad. Light taps give you the right amount of ink on your stamps.
Big Stamp, Small Pad: You should place the large stamp and acrylic block face up. Dab the ink pad across the stamp's surface. This technique gives you control over ink coverage.
Open Stamps: You can angle the ink pad to apply ink. Gently tap the ink around the edges of the stamp design. This prevents filling large open areas of the stamps with too much ink.
Multi-Color Inks: You should apply gentle pressure with multi-color pads. Avoid rubbing the stamp on the pad. This action prevents the colors from mixing on your stamps.
Applying Even Stamping Pressure
The right amount of pressure is crucial for crisp stamping. Too much pressure can smudge the ink. Too little pressure creates an incomplete image. These stamping techniques help you find the right balance.
Avoid rocking the acrylic block from side to side when stamping. This common mistake causes smudged and blotchy images. It is one of the most important techniques to remember for clear acrylic stamping.
You should press straight down with firm, even pressure. Then, you can lift the acrylic block straight up. This simple motion prevents shifting and ensures a clean transfer.
The ideal pressure can change depending on the stamps. You may need more pressure for fine lines.
You should test new stamps on scrap paper first. This helps you learn the right pressure for that specific acrylic stamp.
For larger stamps and a big acrylic block, you can use both hands. This provides stability and helps you apply even pressure across the entire acrylic surface.
Using a Stamping Mat
A stamping mat provides a cushioned surface for your projects. This simple tool makes a huge difference in your acrylic stamping. The mat has a slight give. This give helps the stamp make full contact with the paper. You get a better impression, especially with solid stamps.
Stamping mats are often made from materials like silicone or dense foam. The cushion compensates for any imperfections on your work surface. Using a mat is one of the easiest stamping techniques to adopt. It is a simple way to improve your stamping and get professional results with your acrylic tools.
Creative Uses for Your Acrylic Blocks
Your acrylic blocks are more than just handles for your stamps. You can use these acrylic tools for creative stamping techniques. These methods help you make unique backgrounds for your paper crafts. Your acrylic blocks become versatile stamps themselves.
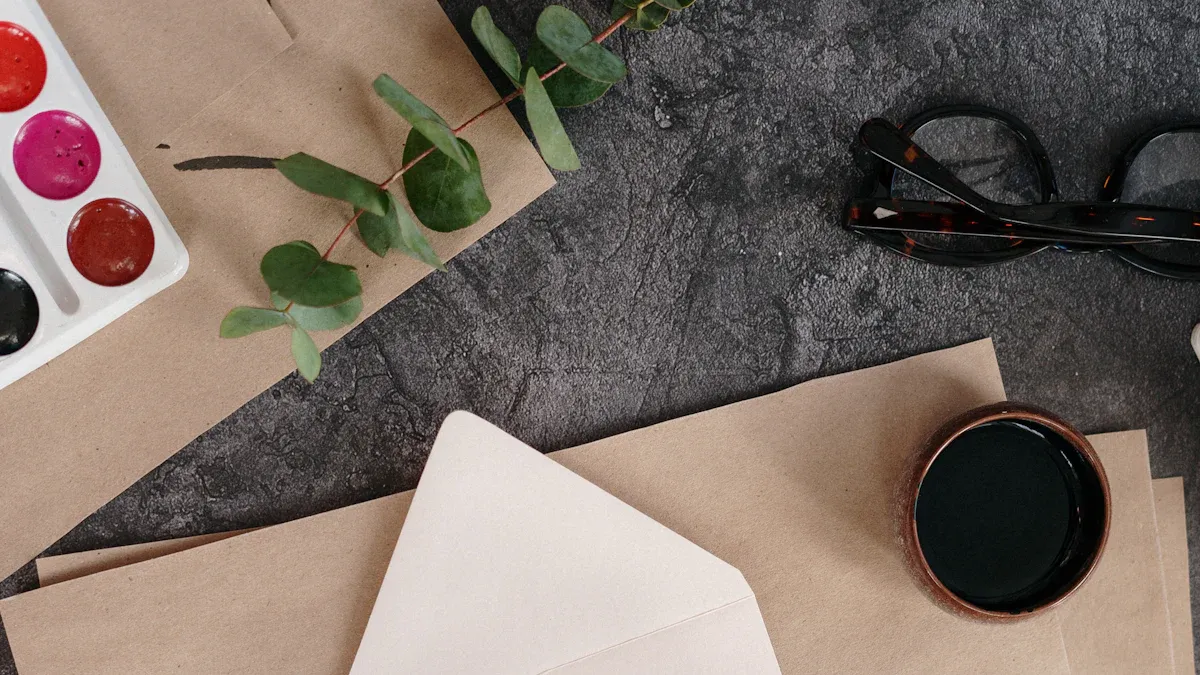
Creating Watercolor Backgrounds
You can turn your acrylic block into a tool for beautiful watercolor effects. This is one of the easiest acrylic stamping techniques. You can use water-based markers to achieve this look.
Color directly onto your acrylic block with the markers.
Spritz the colored acrylic surface with a little water.
Press the block onto your cardstock. This stamping action creates a soft, watercolor background for your other stamps.
Making Blended Ink Panels
You can also create multi-toned backgrounds with your acrylic blocks. This technique uses dye inks to produce vibrant, blended panels. You can use one color, but two similar colors often blend best. This method is great for most types of cardstock.
Pro Tip: The amount of water you spray controls the color. Less water gives you more intense color. More water creates a softer, more blended look for your acrylic stamping.
To create your own blended panel:
Swipe dye ink pads directly onto the acrylic block's surface.
Lightly spray the inked acrylic block with water.
Turn the block over and press it firmly onto your paper.
Lift the block straight up and let the paper dry.
You can try many color combinations with your stamps. Here are a few popular ideas for your stamping projects:
Samba
Rockin’ Red
Using the Block as a Background Stamp
Your acrylic block can be one of your most simple stamps. You can use the block itself for stamping a solid shape. This is a great way to add a block of color to your project. Simply apply ink to the acrylic surface. Then, press the acrylic block onto your paper. This stamping technique creates a clean, modern background. You can repeat the stamping to make a pattern. This is one of the most direct acrylic techniques for using your stamps and tools.
Care and Troubleshooting
You can keep your tools in top shape with proper care. Good maintenance ensures your acrylic stamping projects are always successful. These tips help you solve common stamping problems.
Cleaning and Storing Your Blocks
Clean tools are essential for crisp acrylic stamping. You should clean your acrylic blocks after each use. This prevents ink buildup and keeps your stamps clinging properly.
Important: Avoid using harsh chemicals on your acrylic tools. Solutions like Goo Gone or acetone-based nail polish remover can cloud or damage the acrylic plastic.
Here are some safe ways to clean your acrylic surfaces:
Warm, soapy water: Use a gentle dish soap like Dawn for general cleaning. This is great for removing oils and grease from your acrylic tools.
Rubbing alcohol: A cotton pad with rubbing alcohol effectively removes stubborn ink smudges and sticky residue from your stamps and acrylic tools.
Hand sanitizer: Alcohol-based hand sanitizer works well for cleaning ink off your acrylic tools.
Proper storage protects your acrylic tools from scratches. You should wrap your acrylic blocks in a soft cloth. Store them vertically, like books on a shelf. This prevents pressure damage and keeps the acrylic surfaces ready for your next stamping session.
Fixing Common Acrylic Stamping Issues
You might sometimes get a splotchy or incomplete image. This is a common acrylic stamping issue with a simple fix. Improving your stamping technique often solves the problem.
Common causes of poor stamping impressions include:
Rocking the acrylic block from side to side.
Applying too much ink to your stamps.
Pressing down with too much pressure.
Not leaving the stamp on the paper long enough for the ink to transfer.
Practice your stamping on scrap paper first. This helps you find the right amount of pressure for different stamps. A steady hand and even pressure are key to perfect acrylic stamping.
What to Do When Stamps Don't Stick
Your clear stamps might lose their cling over time. This often happens with older stamps due to the materials used in their manufacturing. Dust and oils from your hands can also reduce the natural stickiness of your stamps. You can easily restore the cling. Simply wash your stamps in warm, soapy water. Then, let them air dry on a lint-free towel. This simple cleaning removes any residue and makes your stamps sticky again. Your stamps will cling to the acrylic surface just like new.
You are now ready for better stamping. Remember these key tips for your acrylic stamps:
Always choose an acrylic block that fits your stamps.
Keep your acrylic tools and stamps clean.
Your acrylic blocks can also help create custom acrylic jewelry or art. Practice with your stamps builds confidence for all your acrylic stamping projects and future stamping.
FAQ
Why do I need multiple acrylic block sizes?
You need different sizes to match your stamps. A block slightly larger than your stamp gives you the best control. It also provides a clear view for placement. Using the right size prevents rocking and helps you get a perfect impression.
Can I use something else instead of an acrylic block?
You can use other flat, non-porous items like a CD case. However, acrylic blocks are the best tool for the job. They are clear for easy placement. Their design also offers a comfortable grip for better stamping results.
What is the best ink for creative block techniques?
You should use water-based inks for creative techniques. Dye inks and water-based markers work perfectly for watercolor backgrounds. These inks react with water. This reaction allows you to create beautiful, artistic effects on your paper projects.
How do I know if my block is clean enough?
Your block is clean when your clear stamps cling to it without slipping. The surface should look clear and feel smooth. Any leftover ink or oils from your hands can prevent your stamps from sticking properly.
Quick Test: If a clean stamp slides around easily on the block, it's time to wash the block with soap and water.
See Also
Choosing And Cleaning White Acrylic Trays: A Comprehensive Guide
Busting Acrylic Tray Myths With Simple And Creative DIY Ideas