How to Brief a Manufacturer for Event Displays
A detailed brief is your blueprint for a successful exhibit. It prevents costly mistakes and ensures clear communication with your builder. This helpful guide gives you a framework to brief a manufacturer effectively. A strong brief for your next exhibition exhibit must clearly define four key areas.
Brand Identity
Event Specifications
Display Goals
Project Logistics
Core Company and Brand Identity
This first section provides the "why" behind your project. You give the manufacturer essential context about your brand's voice, audience, and aesthetic. This information guides every creative decision for your exhibit.
Your Company and Market
Start by introducing your company. Explain your position in the market and what makes you unique. Your manufacturer needs to understand your core business to build an effective exhibit. Share key details about your strategy.
Who you serve: Describe your typical customers and their industries.
What you do: Explain your unique approach to helping clients.
Why you are better: Articulate what sets you apart from competitors.
This background helps the builder grasp the purpose of your exhibition presence.
Event-Specific Target Audience
Next, describe the specific people you want to attract at this event. An exhibit designed for company executives looks very different from one for technical engineers. Provide a clear profile of your target attendee. Consider their:
Age and professional role
Location and type of business
Challenges they need to solve
Reasons for attending the event
Knowing if your audience is there to network, solve a problem, or make a purchase directly influences the exhibit design and functionality. This clear communication ensures the final product connects with the right people.
How to Brief a Manufacturer on Your Brand
Finally, you must brief a manufacturer on your visual identity. Providing your official brand guidelines is non-negotiable for consistency. These rules dictate the correct use of your logo, color palette, and typography. Your brand's personality—whether playful, innovative, or traditional—should be reflected in the physical design.
Your tone of voice should be part of your omnichannel strategy. It should be used when creating writing and other communications for all channels, including... physical products, and the in-store experience.
Consistency across all touchpoints builds brand recognition. A detailed brief ensures your exhibit feels like a true extension of your brand.
The Exhibition Stand Brief: Space and Event Details
After defining your brand, you must brief a manufacturer on the physical space. This part of your exhibition stand brief covers the "where" and "what" of your project. Clear details about the event and your specific location prevent major problems during the exhibit installation.
Essential Event Information
Your manufacturer needs basic logistical information first. This context is essential for scheduling and resource planning. Your exhibition stand brief must include these core details:
Event Name and Venue: State the official name of the exhibition and the full address of the venue.
Key Dates: Provide the complete event timeline. Include dates and times for the trade show booth setup, the live exhibition days, and the final dismantle.
This information ensures your builder can check availability and plan the installation schedule.
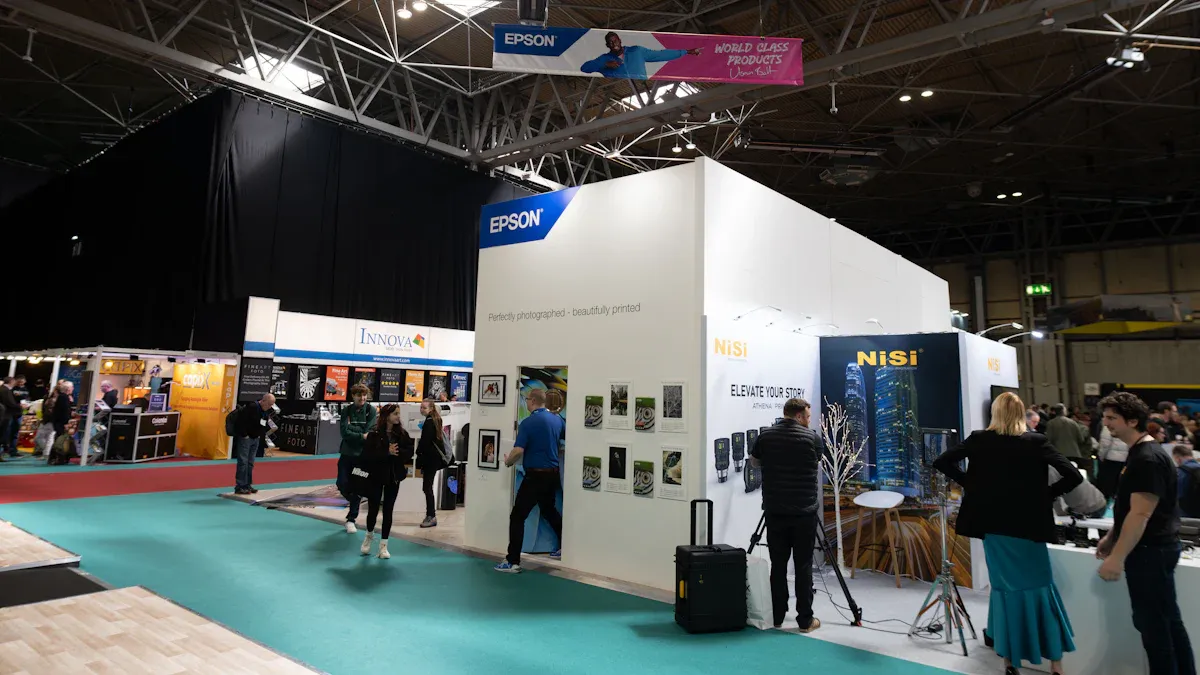
Stand Number and Dimensions
Next, provide the exact details of your assigned space. Your stand number and a copy of the official floor plan are critical. The type of stand you have dramatically impacts the design of your exhibit.
Key Features | Design Focus | |
|---|---|---|
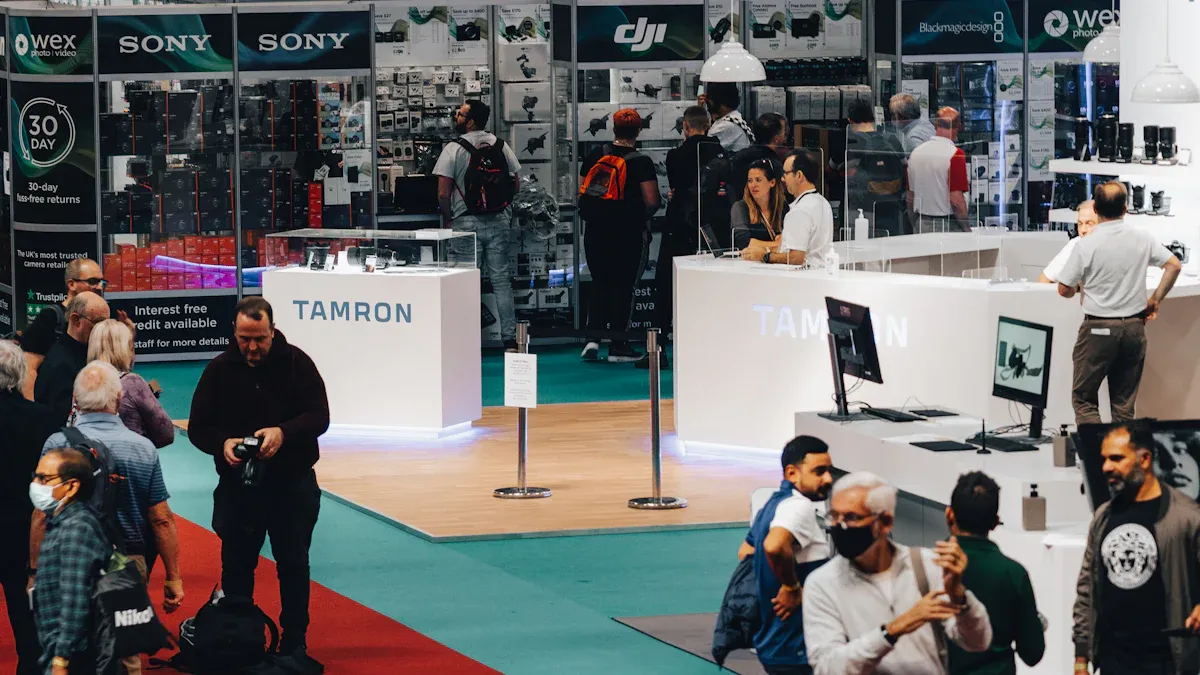
Island | Open on all four sides | 360-degree visibility, large hanging signage, multiple zones |
Peninsula | Open on three sides | High visibility, creative use of corner space, distinct entry points |
Corner | Open on two sides | Good traffic flow, L-shaped designs to attract visitors |
Inline | Open on one side | Focused, front-facing message, creative use of vertical space |
Your floor plan should clearly show dimensions with a scale (e.g., 1/4" = 1') and a compass to indicate orientation. This clear communication helps the exhibition stand designer maximize your space effectively.
On-Site Factors and Restrictions
Every event has rules that affect your exhibit design and installation. You must provide your manufacturer with the event organizer's technical manual. This document contains non-negotiable rules.
Pay close attention to regulations for your specific stand type. Rules often cover maximum wall height, weight limits, and what materials are allowed for the installation. An experienced builder will use this to guide the design.
Also, consider the physical environment. The venue’s flooring can influence your exhibit design, and you may want custom flooring to make your exhibit stand out. The flooring and signage installation is a key part of the final look. Good planning for these on-site factors ensures a smooth exhibit installation process.
Display Objectives and Functionality
Now you can brief a manufacturer on the purpose of your exhibit. This section defines the "why" from a functional perspective. It connects your goals to the physical design and features of your exhibit.
The Primary Goal of Your Display
First, state the main objective for your exhibition presence. A clear goal guides every design decision. Are you there to generate new leads, launch a new product, or simply build brand awareness? Each goal requires a different approach for your exhibit.
To measure success, you should set SMART goals. This means your objectives are Specific, Measurable, Achievable, Relevant, and Time-bound. For example, instead of "get more leads," a better goal is "collect 200 qualified leads by the end of the three-day event."
Defining a clear, measurable goal helps your manufacturer create an exhibit that delivers real results.
Required Functions and Features
Next, list the specific functions your exhibit must perform. The stand functionality should directly support your primary goal. Think about what your team and your visitors will need to do in the space.
Product Demos: Do you need shelving, display cases, or strong counters?
Lead Capture: Will you use tablets, interactive touchscreens, or a simple reception desk?
Private Meetings: Is a semi-enclosed conference area necessary for sales discussions?
Interactive Tech: Could a VR station or a gamified experience help you engage visitors?
A detailed list of required features ensures your exhibit is a practical and effective tool.
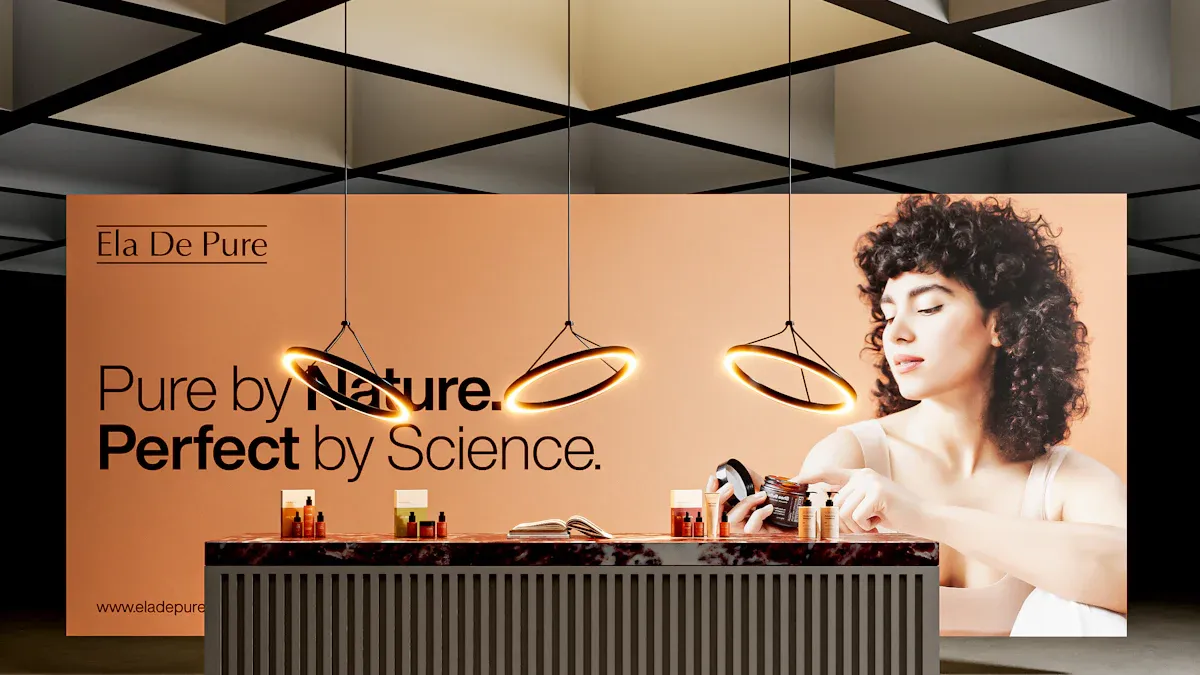
Desired Mood and Style
Finally, describe the atmosphere you want to create. The style of your exhibit should align with your brand identity and appeal to your target audience. Consider a specific design direction. A minimalist design uses clean lines and open space for a modern feel. A biophilic design incorporates natural elements like wood and plants to create a calming, organic environment.
Color also plays a huge role. Warm colors like red can create excitement and draw attention, while cool colors like blue and green can feel more professional and trustworthy. Communicating your desired mood helps the designer choose the right materials, lighting, and colors for your exhibit.
Budget, Timeline, and Logistics
The final part of your brief covers the practical details. You must clearly define your budget, timeline, and logistical needs. This information ensures your project stays on track and within scope.
Defining a Realistic Budget
You should provide a realistic budget range for your exhibit. This number directly influences material choices, the complexity of the design, and the features of your exhibit. Clear financial guidance helps your manufacturer propose a solution that meets your goals without exceeding your means. Different types of exhibit displays have different costs.
Display Type | Price Range (per sq. ft.) |
|---|---|
Portable Displays | $55 – $150 |
Hybrid Displays | $150 – $225 |
Custom Trade Show Booths | $225 – $300+ |
Providing a budget helps your partner develop the best possible exhibit for your investment.
Critical Project Deadlines
Your brief must include a complete project timeline with key dates. The process for a custom exhibit, from initial design to final manufacturing, can take several weeks. Early communication with your partner is essential. A typical schedule includes:
Initial design and consultation: 1 to 2 weeks
Material sourcing and finalization: 2 to 4 weeks
Exhibit construction and installation prep: 1 to 3 weeks
Setting clear deadlines for each phase keeps the project moving forward smoothly. This ensures your exhibit is ready for the installation day.
Coordinating Exhibit Installation
A successful exhibition depends on a flawless exhibit installation. Your manufacturer can become a true exhibit installation partner, managing all on-site logistics. Professional exhibit installation services often include much more than just the basic installation.
A full-service partner handles shipping coordination, on-site supervision of the installation, and the final installation and dismantle. This comprehensive support is key for a stress-free exhibit installation.
Your brief should clarify your needs for the installation. Many venues have strict rules for delivery windows and loading docks. An experienced team manages this complex communication. They ensure a smooth exhibit installation and prevent costly delays. A well-planned installation and dismantle process is critical. Your team should focus on the event, not the exhibit installation. A seamless installation and dismantle makes your entire experience better. The final installation and dismantle of the exhibit is the last step. A successful exhibit installation completes your vision.
A complete brief transforms your manufacturer into a strategic partner. You build a better exhibit when you clearly define your brand, space, functions, and logistics. This structured approach is the best way to ensure a successful exhibition. Your final exhibit will perfectly match your vision and goals. This makes your manufacturer a true build partner.
Use this guide as your template. You can create a brief that delivers outstanding results for your next project.
FAQ
What if I do not have a specific design idea?
You can still create a great brief. Provide your goals, brand identity, and desired mood. Your manufacturer can then propose concepts. Clear communication helps them develop a design that fits your needs.
How much detail is needed for the installation plan?
You should provide all venue rules and deadlines. Your partner handles the detailed installation plan. A professional team manages the entire installation. The installation process includes setup and dismantle. A smooth installation is key.
Can I reuse my exhibit for another exhibition?
Yes, you can. You should discuss this goal with your builder from the start. They can design a modular exhibit. This allows for easy updates and reconfigurations for future events.
Why is a budget range better than a single number?
A range gives your builder flexibility. It helps them balance materials and features to maximize your investment. This ensures the final design meets your financial and functional needs without surprises.
What is the most important part of the installation process?
The most critical part of the installation is planning. A detailed plan for the installation prevents delays. The installation team needs clear instructions. The final installation and dismantle are part of this plan. A successful installation depends on this. The installation must be perfect.