A Beginner’s Guide to Making Custom Acrylic Standees
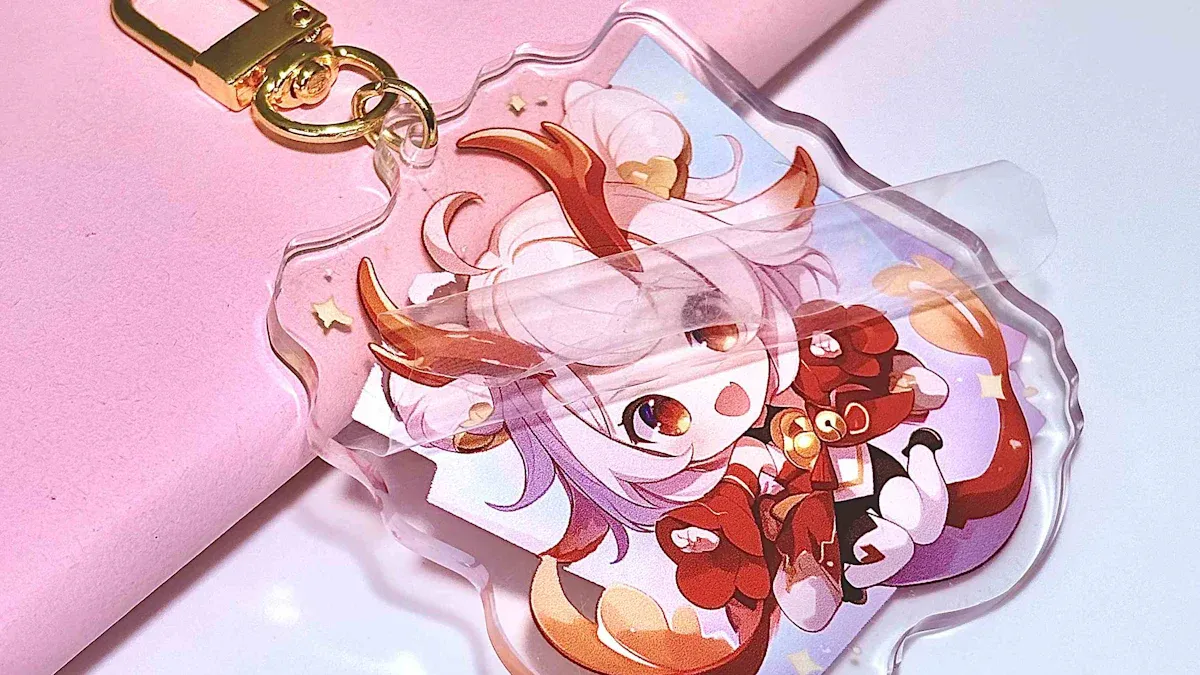
Anyone can make their favorite characters or designs real with custom acrylic standees. These bright pieces help beginners show creativity in fun ways. You start with an idea. Then you pick the size, shape, and artwork for your project. Every detail is important, like the design and the reason for the standee. If you want good quality, Toyin Acrylic is a trusted choice for materials and making.
Key Takeaways
Begin with a clear idea for your acrylic standee. Pick artwork that shows your favorite characters or themes.
Choose the right size and thickness for your standee. Think about where you will put it to make sure it fits.
Use high-quality images for your designs. This makes your standee look bright and clear when printed.
Decide if you want to make it yourself or order from a company. DIY gives a personal touch, but companies like Toyin Acrylic offer professional quality.
Always check proofs closely before you finish your order. This helps you avoid mistakes and makes sure your standee looks how you want.
Designing Custom Acrylic Standees
Choosing Artwork and Purpose
Acrylic standees begin with a simple idea. People pick artwork that shows their favorite characters or style. The reason for the standee helps decide many things. Some want a fun item for their desk. Others need something big for events or ads. When picking artwork, think about style, size, and how you will use it. The table below lists important things to remember:
Factor | Description |
|---|---|
Style | Clear, frosted, colored, or mirrored styles each make it look different. |
Size | Measure the spot for your standee. Make sure it fits what you need. |
Thickness | Thin or thick acrylic changes how strong the standee is. |
Durability | Acrylic lasts a long time but can scratch. Think about how much you touch it. |
Maintenance | Clean with warm water and mild soap to keep it nice. |
If you want to use acrylic standees for gifts or branding, match the design to your message.
Deciding Size and Shape
Size and shape are very important in design. Small standees fit well on desks or shelves. Big ones stand out at events or stores. How you plan to use it helps you pick the right size. Thick acrylic makes bigger standees stronger. The table below shows how the purpose changes the design:
Design Factor | Description |
|---|---|
Size | Choose a size that fits the space and stands out if needed. |
Thickness | Thick acrylic keeps big standees from falling over. |
Design and Shape | Pick shapes that match the artwork and look good from all sides. |
Customization | Add logos or pictures for a special touch or brand message. |
Edge Finishing | Smooth or shiny edges make the standee look more finished. |
Base and Support | A strong base keeps the standee standing up and steady. |
Sketching or Digital Mock-Up
Before making standees, artists draw ideas on paper or use computer programs. Tools like Adobe Illustrator or Canva help make digital mock-ups. These tools let you try colors, shapes, and layouts before you finish the design. Some people like to draw by hand first, then scan it to make a digital file. This step helps you see what needs to change early. It also makes sure the final standee looks like your idea.
Tip: Try both drawing by hand and using digital tools to see which is easier. Many beginners find that starting with a simple drawing helps them focus on the main idea.
How to Make Acrylic Standees: File Prep
File Types and Resolution
He picks the right file type and checks resolution. High-resolution images are very important. They make colors bright and details clear. Artists use files with at least 300 DPI. This keeps the artwork sharp when printed. Most people use PNG or vector files like SVG or AI. These file types are good for custom shapes and clear backgrounds. Toyin Acrylic Products Co., Ltd. says to check resolution before sending files. Try zooming in on your design. If it looks blurry, the resolution is too low.
Tip: Always save your artwork in a high-resolution format. This helps you avoid blurry prints and keeps your acrylic standees looking nice.
Setting Transparency and Cutlines
He gets the design ready by setting transparency and cutlines. Transparent backgrounds let the standee have any shape. This makes the piece look neat. High transparency levels make the standee look clear and shiny. Diamond polishing makes the edges very clear, up to 98%. This gives a crystal-clear finish. Precise cutlines help the manufacturer cut the acrylic well. Clean edges make the standee look tidy and smooth. Toyin Acrylic uses special tools to make sure every cut matches the design.
Use high-resolution images (at least 300 DPI).
Make sure the design has a transparent background.
Draw clear cutlines for custom shapes.
Creating Print-Ready Art
He follows steps to make print-ready art. First, he picks the size, shape, and resolution. Next, he uses design software to get the file ready. He checks the file type and makes sure the resolution is good. Then, he chooses his favorite standee type. After finishing the design, he uploads the artwork to the Toyin Acrylic website. The company checks the file and sends a proof for approval. When everything looks right, Toyin Acrylic starts making the standees. The finished acrylic standees come ready to show.
Note: Print-ready art saves time and stops mistakes. Always check the file before sending it to Toyin Acrylic Products Co., Ltd. for making.
Materials and Production Methods
DIY vs. Manufacturer
Some people make acrylic standees at home. They use craft knives, glue, and printed designs. DIY projects are fun and feel special. You control each step and try new ideas. Making standees at home takes time and practice. Mistakes can happen, and the finish may not be smooth.
Other people order from a manufacturer. Companies like Toyin Acrylic Products Co., Ltd. use special machines and skilled workers. They cut, print, and polish each piece carefully. This saves time and gives a shiny finish. Manufacturers can make many standees and custom shapes. People who want lots of standees or a perfect look pick this option.
Tip: Beginners who want a pro result or need many standees should use a trusted manufacturer.
Toyin Acrylic Material Options
Toyin Acrylic has many choices for custom clear acrylic standees. They use strong acrylic sheets in different colors, finishes, and transparency levels. Customers can pick clear, frosted, or colored acrylic. Toyin Acrylic also offers mirrored or glitter effects. These choices help people match their standee to any style or event.
For more details, check their custom acrylic standee and acrylic display stand pages. Toyin Acrylic is known for good service and strong materials. They help beginners and experts get great results.
Acrylic Thickness and Base Choices
Acrylic thickness changes how strong and sturdy the standee feels. Thicker acrylic is better for bigger or heavier designs. The table below shows common thicknesses and uses:
Thickness (mm) | Application Description |
|---|---|
2 mm to 3 mm | Good for indoor signs and simple panels. Lightweight and easy to move. |
4 mm to 5 mm | Works well for medium displays and covers. More stable for outdoor use. |
6 mm to 8 mm | Best for sturdy signage and furniture inserts. Offers better rigidity. |
10 mm and above | Used for shelves and heavy-duty covers. Can hold more weight. |
People can pick different base shapes and sizes. A wide base helps the standee stay upright. Some bases have matching colors or printed designs. Toyin Acrylic lets customers choose the best base for their project. This makes each standee unique.
Create Custom Acrylic Standees: Process
DIY Step-by-Step
Many people enjoy making acrylic standees at home. This process lets them control every detail and add a personal touch. Here is a step-by-step guide to help beginners create custom acrylic standees on their own:
Design and Plan
Start by deciding what the standee will look like. Sketch the idea on paper or use a computer to make a digital mock-up. Think about the size, shape, and colors.Gather Materials
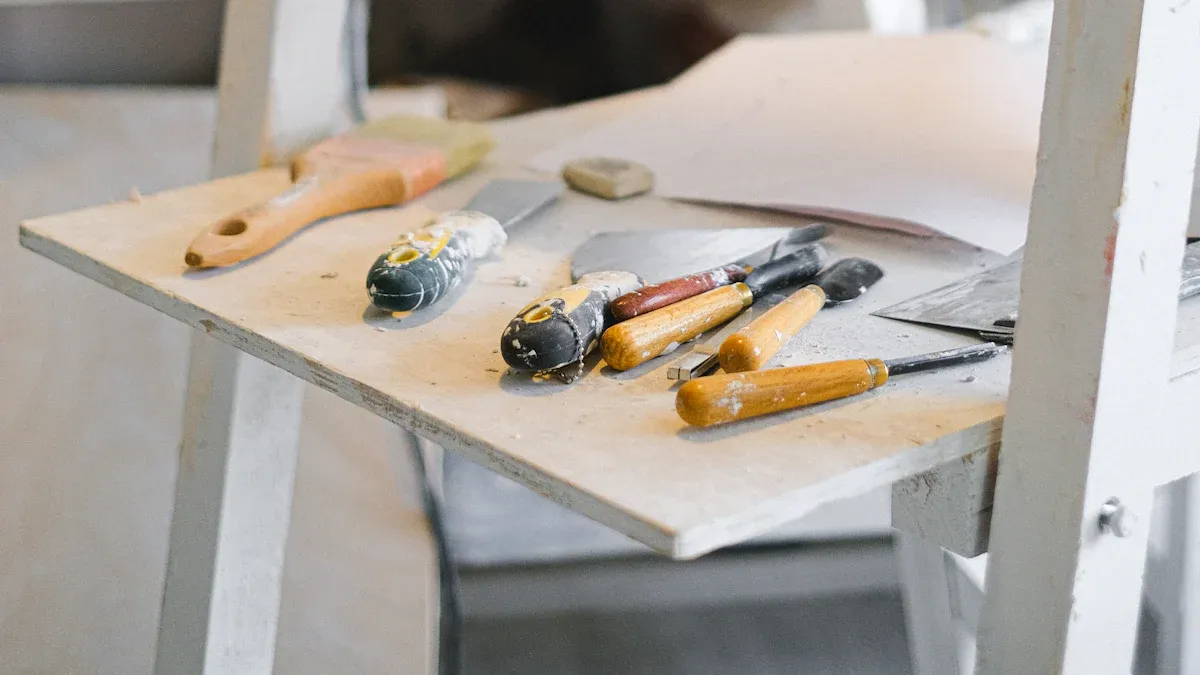
Collect everything needed before starting. Most people use:Acrylic sheets (choose the right thickness for the base and standee)
Adhesive or glue for acrylic
Cutting tools (like a laser cutter, bandsaw, or craft knife)
Sandpaper for smoothing edges
Clamps or clips to hold pieces together
Optional: decorative items, LED strips, or paint
Measure and Cut
Measure the acrylic sheet carefully. Mark the outline of the design. Cut along the lines using the chosen tool. Smooth the edges with sandpaper to avoid sharp corners.Assembling
Apply glue to the edges where the pieces will join. Press the parts together and use clamps or tape to hold them in place until the glue dries.Finishing Touches
Add any decorations or extra features. Some people use paint, stickers, or even LED lights to make their standee unique.Testing and Adjusting
Stand the piece upright and check if it is stable. Make changes if it wobbles or leans.Cleaning and Polishing
Clean the finished standee with mild soap and water. Polish it with a soft cloth to make it shine.
Tip: Always work in a safe area and wear protective gear when cutting acrylic. Take your time to avoid mistakes.
Ordering Online with Toyin Acrylic
Some people prefer to order custom acrylic standees from a professional manufacturer. Toyin Acrylic Products Co., Ltd. offers an easy way to create custom acrylic standees online. Here is how the process usually works:
Choose Your Product
Visit the custom acrylic standee page on Toyin Acrylic’s website. Select the type, size, and finish that fits your needs.Upload Your Design
Prepare your artwork as a high-resolution file. Make sure it meets the requirements for size and transparency. Upload the file directly on the website.Select Options
Pick the acrylic thickness, base style, and any special features like mirrored or glitter finishes.Place Your Order
Review your choices and submit the order. Pay attention to the estimated turnaround time, which appears on each product page. Turnaround times depend on the product and options. They are shown in business days and do not include weekends or holidays. Orders start processing after approval and payment. Sometimes, outside factors like weather or machine issues can affect delivery.Wait for Proofs
After submitting the order, Toyin Acrylic sends a digital proof for review. This step helps make sure the final product matches your vision.
Note: Ordering online saves time and gives a professional finish. It is a good choice for people who want many standees or a perfect look.
Reviewing Proofs and Finalizing
Before Toyin Acrylic starts making the standees, they send a proof for approval. This is a very important step. People should check the proof carefully to avoid mistakes.
Review the design to make sure it matches the original idea.
Look for any errors in the artwork, such as missing parts or wrong colors.
Confirm that any text or images look correct and fit the style you want.
If something does not look right, ask for changes before giving final approval. Once approved, the company will start production and cannot make changes.
Tip: Take your time when checking proofs. Ask a friend to look at the design too. A fresh set of eyes can spot mistakes you might miss.
When the standees arrive, check them for quality. Make sure the colors are bright, the edges are smooth, and the base fits well. If there are any problems, contact Toyin Acrylic Products Co., Ltd. for help.
By following these steps, anyone can create custom acrylic standees that look great and last a long time.
Assembling and Finishing Acrylic Standees
Attaching Base and Standee
Attaching the base to the standee is a key step for stability. He places the standee on a flat, level surface to keep it steady. For a clean and secure hold, he uses heavy-duty double-sided tape on smooth surfaces. If he wants to move the standee later, adhesive putty works well and leaves no marks. Some people mount their standees on the wall with anchors and screws, especially when desk space is tight. To protect delicate surfaces, he adds self-adhesive felt pads to the base. These simple steps help keep the standee upright and looking sharp.
Tip: Always check that the base fits snugly before displaying your acrylic standees.
Cleaning and Polishing
Keeping acrylic standees clear and shiny takes just a few easy steps:
Gather supplies: soft microfiber cloth, mild dish soap, lukewarm water, and a lint-free cloth.
Remove dust with a microfiber cloth or a burst of compressed air.
Mix a little dish soap with lukewarm water for a gentle cleaning solution.
Wipe the surface gently with a damp cloth. He avoids pressing too hard.
Rinse with clean water and dry right away with a lint-free cloth.
For small scratches, he buffs the area with a plastic polish.
Note: Never use harsh cleaners or rough sponges. These can scratch the acrylic and dull its shine.
Optional Enhancements
Many people like to add creative touches to make their standees stand out. The table below shows some popular ways to enhance the look and function:
Enhancement Type | Description |
|---|---|
Use Lighting to Your Advantage | LED strips or spotlights make the standee pop and highlight details. |
Create a Focal Point | Place the standee on an elevated platform to draw attention. |
Customize for Branding | Add etched logos or brand colors for a personal or professional touch. |
Color Tinting and LED Integration | Colored acrylic or built-in LEDs add drama, especially in dim rooms. |
He can try one or more of these ideas to match his style or event. With a little creativity, every standee becomes a unique display piece.
Tips and Troubleshooting for Acrylic Standees
Common Mistakes to Avoid
A lot of beginners make the same mistakes with acrylic standees. He can stop these problems by using some easy tips:
Pick high-resolution images. Blurry pictures do not print well.
Make sure colors stand out. Bad contrast makes designs hard to see.
Keep designs simple. Too many details look messy and confusing.
Use a font size that is easy to read. Small text is hard to see from far away.
Follow branding rules. Using the same colors and logos helps people remember your brand.
Match the design to the standee’s size and shape.
Check for spelling mistakes. Errors can ruin how the standee looks.
Work with a pro manufacturer like Toyin Acrylic Products Co., Ltd. for the best results.
Tip: Always check your design twice before sending it to be made.
Packaging and Protection
Good packaging keeps acrylic standees safe when shipping or storing them. He should do these steps:
Clean the standee first to get rid of dust and fingerprints.
Wrap it in bubble wrap. Pay extra attention to corners and edges.
Put the wrapped standee in a strong box with space around it.
Fill empty spots with packing peanuts or foam so it does not move.
Seal the box with strong tape and cover all seams.
Add corner protectors for more safety.
Mark the box as "Fragile" and use arrows for "This Side Up" if needed.
Note: Anti-static bags and silica gel packets help stop moisture and static.
Creative Display Ideas
He can make acrylic standees look cool with creative displays:
Put standees together by theme, like characters from the same show.
Use shelves or acrylic risers to show off standees at different heights.
Add LED strip lights or spotlights to make designs stand out.
Place standees near checkout counters to show off products or deals.
Use them at events for branding or to show QR codes for promos.
Decorate offices with branded standees to boost team spirit.
Give custom standees as gifts or keepsakes for clients and friends.
Try mixing display ideas to make a setup that is fun and stands out.
Making acrylic standees is simple and fun for anyone. Here are the main steps:
Prepare your artwork with a clear, high-resolution image.
Choose the right size for your space.
Pick a sturdy base that fits your design.
Work with a trusted supplier like Toyin Acrylic Products Co., Ltd.
Anyone can enjoy this creative process. Beginners often feel proud when they see their finished standee. Start your own project and share your results!
FAQ
How long does it take to make a custom acrylic standee?
Production time depends on the design and order size. Toyin Acrylic Products Co., Ltd. usually finishes most orders in 7–10 business days. Shipping may take extra time. Check their custom acrylic standee page for details.
Can beginners make acrylic standees at home?
Yes! Many beginners start with simple designs and basic tools. They use craft knives, glue, and small acrylic sheets. For a professional look, they often order from Toyin Acrylic.
What file type works best for printing standees?
Designers prefer PNG, SVG, or AI files. These file types keep images clear and backgrounds transparent. High-resolution files (at least 300 DPI) help the standee look sharp and colorful.
How do you keep acrylic standees from scratching?
He cleans the standee with a soft cloth and mild soap. He stores it in a safe place. Bubble wrap or a soft pouch helps protect it during travel or storage.
Can you add special effects like glitter or lights?
Yes! Toyin Acrylic offers glitter, mirrored, and colored acrylic options. Some people add LED lights for extra flair. Visit their acrylic display stand page for more ideas.